1. 控制器的作用
- 路由状态枚举:
python
class RouteStatus(Enum):
    """status of route
    - un_controlled, not been decorated by @Controller
    - deactivate, need `run` method in MainApplication
    - activate, can use
    """
    UN_CONTROLLED = 'un_controlled'
    DEACTIVATE = 'deactivate'
ACTIVATE = 'activate'TIP
- 使控制器所在类下的所有路由从失控 转为 受控(未激活);
- 激活属于另一个过程,这里不做讨论;
举个例子
- 失控状态,不会被注册
python
@RequestMapping('/')
class WelcomeController:
    @RequestMapping('/hello1', tags=['Hello World'])
    def hello_world1():
        return 'Hello World!'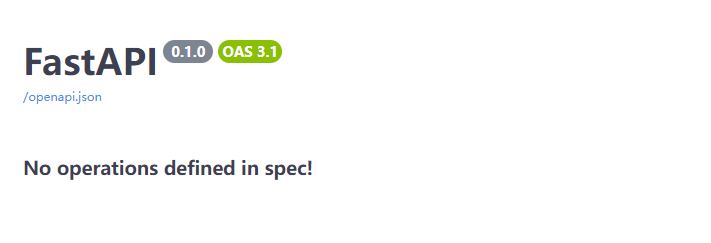
- 受控
python
@Controller
@RequestMapping('/')
class WelcomeController:
    @RequestMapping('/hello1', tags=['Hello World'])
    def hello_world1():
        return 'Hello World!'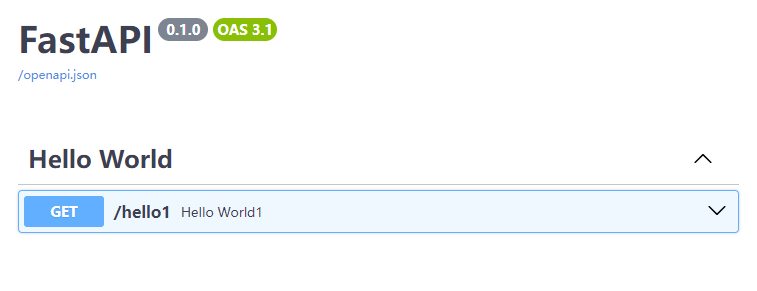
2. 控制器的类型
- 路由类型枚举:
python
class RouteType(Enum):
    """type of route
    - CBV: class_basic_view
    - FBV:function_basic_view
    - ENDPOINT:endpoint
    - INNER_CBV:inner_cbv
    """
    CBV = 'CBV'
    FBV = 'FBV'
    ENDPOINT = 'ENDPOINT'
INNER_CBV = 'INNER_CBV'- 其中控制器主要包括类视图 CBV、函数视图 FBV、内部类视图 INNER_CBV
- ENDPOINT是路由处理方法
1. CBV
- 前面的例子都属于类视图
如果控制器上RequestMapping(...)只有一个属性path且为''时,可以省略@RequestMapping(...)
python
# http://localhost:8000/hello/hello2
@Controller
@RequestMapping('/hello')
class WelcomeController:
    @GetMapping('/hello2', tags=['Hello World'])
    def hello_world1():
        return 'Hello World!'

# http://localhost:8000/hello2
@Controller
class WelcomeController:
    @GetMapping('/hello2', tags=['Hello World'])
    def hello_world2():
return 'Hello World!'2. FBV
- 可以直接把函数作为控制器
python
# http://localhost:8000/hello
@Controller
@RequestMapping('/hello', tags=['Hello World'])
def hello_world1():
    return 'Hello World!'

# http://localhost:8000
@Controller
def hello_world2():
return 'Hello World2!' 嗯,看起来写单个接口时比类视图简单
但如果有条件获取 FastAPI和APIRouter 实例的话,为什么不用 @app.get、@router.get 呢?可能唯一的优点就是自动扫描无需引入吧😅
3. INNER_CBV
一种控制类嵌套的写法,建议不要嵌套太多;
在控制器内部类上,只需写@RequestMapping,不需要@Controller,会把该内部类下的所有路由自动拼接到外部控制器类的路径后面,并受控激活注册;
python
@Controller
@RequestMapping('/main')
class HelloController:
    @RequestMapping('/hello1', tags=['Hello World'])
    def hello_world1():
        return 'Hello World!'

    @RequestMapping('/hello2')
    class HelloController2:
        @GetMapping('/world', tags=['Hello World Again!'])
        def hello_world():
            return 'Hello World Again!'

        @PutMapping('/fastapi-boot', tags=['Hello FastApiBoot!'])
        def hello_fastapi_boot(self, p: str = Query()):
            return dict(
                query=p,
                msg='Hello FastApiBoot!'
            )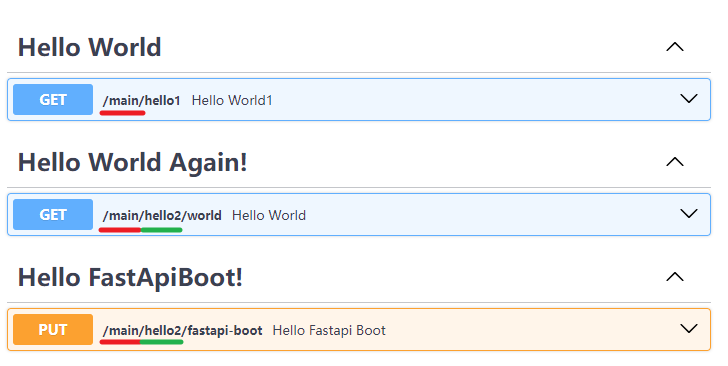
- 其中红色下划线的部分是
HelloController的前缀, 绿色下划线的部分是HelloController2的前缀;
我有一个奇妙的想法 😏
- 为了测试套娃能力,把多级路由按层级写开,而不是直接用
/l1/l2/l3/l4/l5/l6
python
import time
from fastapi import Path, WebSocket
from fastapi_boot import Controller, RequestMapping, GetMapping, WebSocketMapping


@Controller
@RequestMapping('l1')
class LevelController1:
    @RequestMapping('l2')
    class LevelController2:
        @RequestMapping('l3')
        class LevelController3:
            @RequestMapping('l4')
            class LevelController4:
                @RequestMapping('l5')
                class LevelController5:
                    @RequestMapping('l6')
                    class LevelController6:
                        @GetMapping('/{id}')
                        def get(self, id: str = Path()):
                            return dict(
                                msg='ok',
                                id=id,
                                time=time.strftime('%Y-%m-%d %H:%M:%S')
                            )

                        @RequestMapping('/l7')
                        class LevelController7:
                            @WebSocketMapping('/chat')
                            async def websocket(self, websocket: WebSocket):
                                await websocket.accept()
                                while True:
                                    data: dict = await websocket.receive_json()
                                    print(data)

                                    await websocket.send_json(dict(
                                        count=data.get('count', 1),
                                        msg='from server: ' +
                                        data.get('msg', '')
                                    ))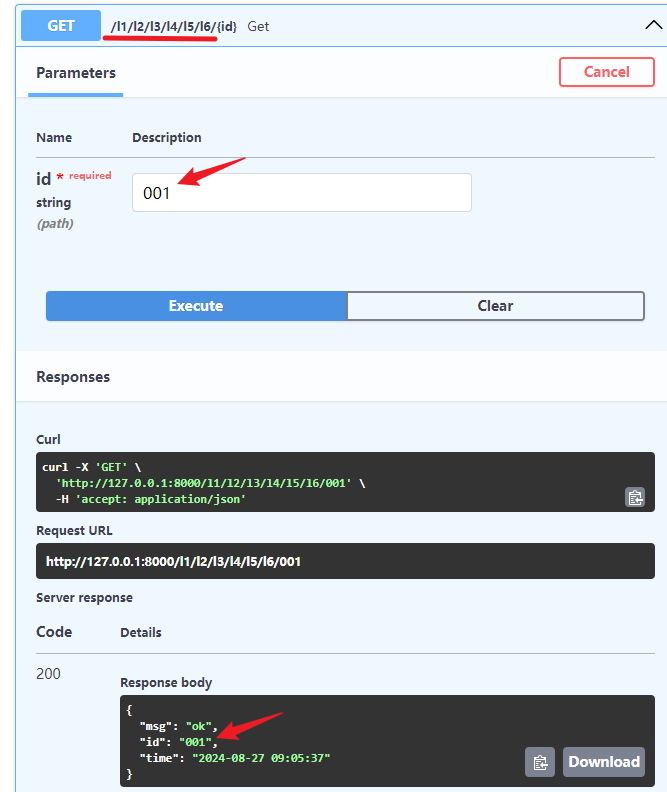
- 看起来效果还不错,我们再来测试下 websocket:
html
<!-- ... -->
<body>
    <button>click me to send message</button>
    <div></div>
</body>
<script>
    const btn = document.querySelector('button');
    const div = document.querySelector('div');
    let num = 1;
    const websocket = new WebSocket('ws://localhost:8000/l1/l2/l3/l4/l5/l6/l7/chat');
    websocket.onopen = () => {
        console.log('open');
    };
    websocket.onmessage = data => {
        div.innerText += `${ data.data }\n`;
    };
    btn.addEventListener('click', () => {
        websocket.send(
                JSON.stringify({
                    count: num++,
                    msg: 'Hello'
                })
        );
    });
</script>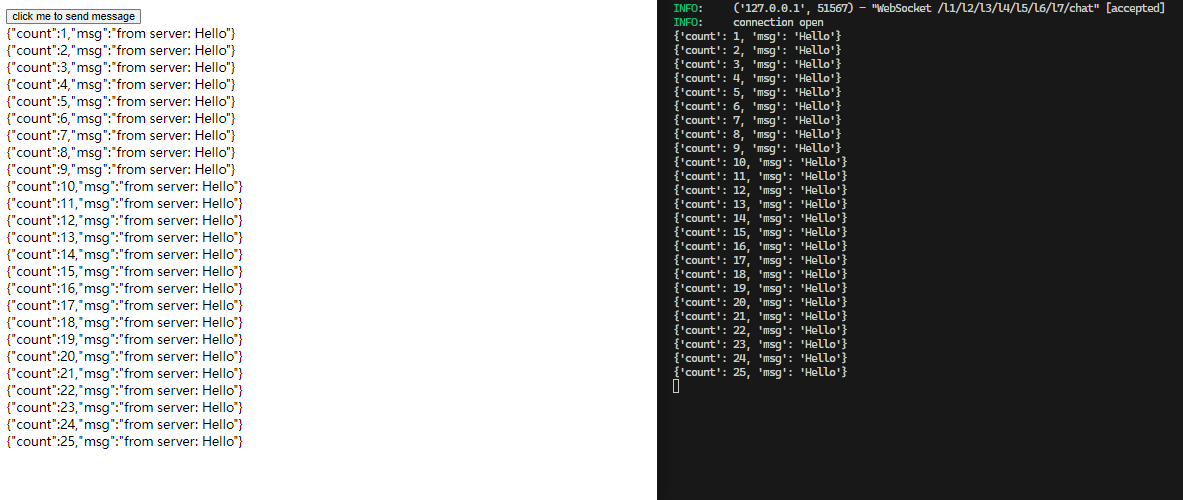
还可以😃
3. 控制器补充
1. 建议不要写在项目启动文件中
注意
python
app = FastAPI()

@Controller
@RequestMapping('/main-test')
class MainTestController:
    @PostMapping('/t1')
    def post(self):
        return True

FastApiBootApplication.run_app(app)- 扫描时会为每个控制器匹配唯一的
application,写在项目启动之前,找不到对应的主应用; FastApiBoot会把找不到著应用的任务加入一个任务列表,等对应主应用初始化完成再执行;- 建议分包写,每个包下有对应的
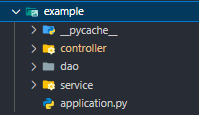
Controller、Service、Repository等;
2. 命名控制器
- 可以给
Controller控制器加上名字,类似于其他组件,在需要自动装配多个相同类型的组件时很有用; - 不论按类型装配或按名字装配都要求装配依据唯一,确保能正确装配唯一组件;
- 不过装配控制器的比较少见;
python
# this controller can be autowired by name 'helloController1' or type HelloController
@Controller('helloController1')
@RequestMapping('/')
class HelloController1:
    @RequestMapping('/hello1', tags=['Hello World1'])
    def hello_world1():
return 'Hello World1!'python
# this controller can only autowired by type HelloController2
@Controller
@RequestMapping('/hello2', tags=['Hello World2'])
def HelloController2():
return 'Hello World2!'python
from fastapi_boot import AutoWired

from controller.hello_controller1 import HelloController1
from controller.hello_controller2 import HelloController2


# will be autowired by name 'helloController1', the type HelloController1 will only user as the basis for the editor code prompt
hello_controller1 = AutoWired(HelloController1,'helloController1')

# will be autowired by type HelloController2
hello_controller2 = AutoWired(HelloController2)
print('\n',[i for i in hello_controller1.__dict__.keys()], '\n',[i for i in hello_controller2.__dict__.keys()])其中的
decorated_obj和route_type属于FastApiBoot在控制器上增加的属性,用于获取信息、判断类型等;
扫描输出: Swagger UI:
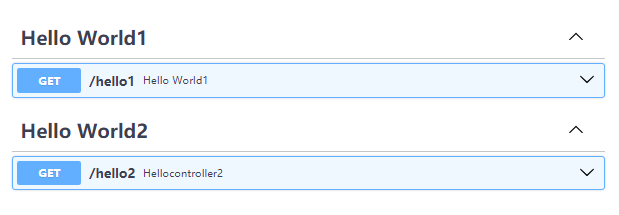
3. 关于self
作用
- 类的成员方法约定第一个参数是
self; - 后面在获取获取路由信息、公共依赖的时候,
self会 非常有用;
能不写吗
- 能;
- 最好写上,不写不会报错(扫描时会判断是否写了
self,进行不同处理),但编辑器的静态代码语法检查过不了; - 静态方法和 FBV 没有为
self预留位置,写了可能会出错;